just don't work out for you. Craft services forgets
your prime rib. The star actor steals your director's chair.
A moose knocks over the rented Red Epic that you leave
for 'just a second' mounted on the tripod, while you look for
the caterer and the star actor so you can give them a piece of
your mind. Or, even more our of the realm of belief.......you
have a sunny day in SE Alaska!
So, in this case I was working on a promo video for an
afterschool program. The script called for some shots, showing
depressed kids, looking out the windows of their house,
while rain ran down the window. Creating a dreary mood.
How was I to know that when we FINALLY got permission
from the parents to shoot, that it would decide to be a beautiful
sunny day? Juneau is in the middle of a rainforest, if there is anything
you can depend on,......it's rain! Except for when you can't.
Not having the option to reschedule the shoot, I decided to
do what every good cinematographer would do. Just shoot and
and tell them that they can 'fix it in post'. Except in this case.....I was
doing post as well! Oops...what was that stupid cinematographer thinking??
Anyways, after the shoot was done, here is what the shots looked like.
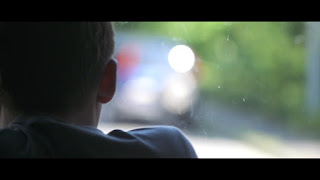
Sun...sun.....and more sun. How did this happen!?
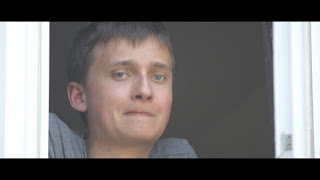
Not exactly the mood we were going for! Now to start poking
around to find out what can be done in post. First, a little color
correction. And push everything a little towards the blue, so it
doesn't look so sunny. Next, how to make some rain? I edit
in Final Cut Pro, but there is a great little companion program to Final
Cut Pro called Motion. And I found a nice filter in Motion called 'Water Pane'
which looked like it did just what I needed. It would put water drops
on a simulated window. This filter is in Final Cut Pro as well, but often, this
type of thing is easier to do in Motion (kind of the poor man's After Effects).
In Motion, you can draw masks in, motion track, and all sorts of things. Anyways,
after I duplicated the filter so I could create my own tweaked version (you usually
don't want to just use these filters 'stock') I dropped it on the clips. But something
wasn't quite right.
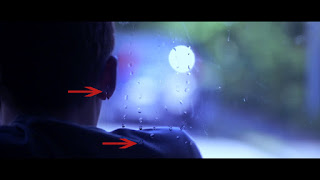
So in the above picture, it looks like the window is behind
him. You can see that if you look at the water running in the
areas the red arrows are pointing towards, on his ear and shoulder.
Obviously, in this shot, we want it to look like we are inside, looking
over his shoulder, out of a window, and that is NOT what it looks like!
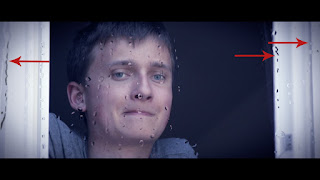
Next, in the above picture, it looks like you are looking out of a
window at the subject. In this case, we want it to look like he is looking
out a window at us. Again, note the water running in areas where it
wouldn't be running (as pointed out by the red arrows) if he was
looking out a window at us. So now, we just need to mask off the
areas where we don't want water to appear. In other words, we create
a 'mask' where the water is 'allowed' to appear. Easy to do by drawing
a mask in Motion.
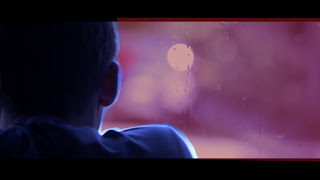
In these two pictures, the mask, is the area which is red. This is
where the water is 'allowed' to show.
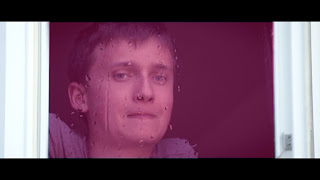
And suddenly everything works!
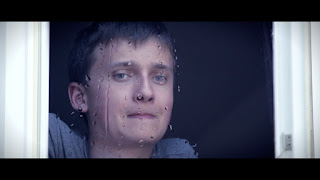

Just for comparison's sake, here is a little video showing 'before' and 'after'.
And that is just a quick little example of how a person can
change the 'reality' of the shoot, in post. If you would like to see
the entire video, it is here:
Gabe Strong
Cinematographer/Editor/Owner
G-Force Productions Digital Cinema

No comments:
Post a Comment